Key Points of Manual Enamel Dipping for Enamel Pots
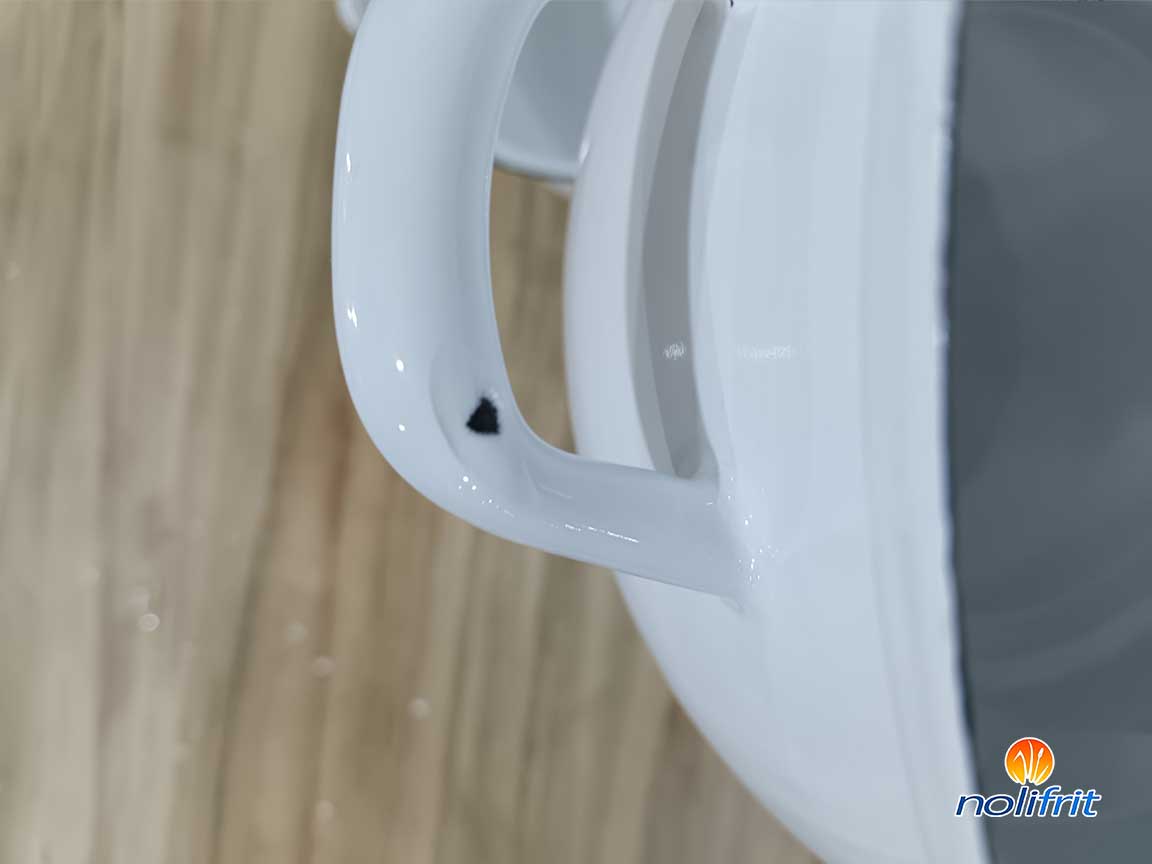
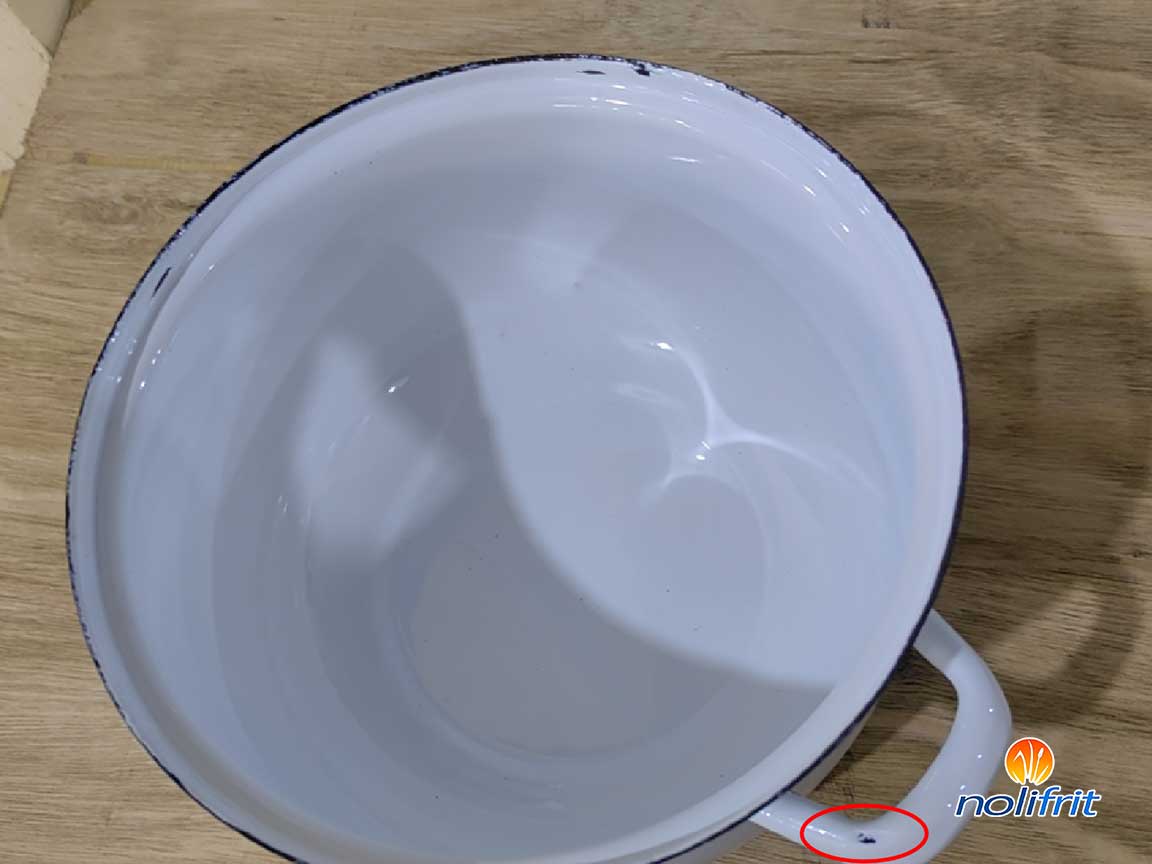
A enamel manufacturer faced persistent cold-cracking issues in their enamel pots. Nolifrit’s technical team was invited to provide on-site support. Tested and analyzed by the technical team, they identified the root cause: non-standard manual dipping processes leading to localized over-thick enamel layers, which caused cold cracks after firing.
Regarding this issue, Nolifrit team demonstrated standardized operations and systematically explain the key points of manual enameling process. Combining guidance with hands-on training, they helped workers master the standardized process flow, establishing a technical foundation for improving product quality consistency.
This article aims to provide referenceable process optimization solutions for daily enamel manufacturers through sharing of this technical case.
The manual enameling process of enamel pots can be divided into several key steps: immersing→ shaking → clamping → filling → turning → rotating → swinging → releasing → observing.
Immersing: Hold one of the pot handles of the pot with your left hand and immerse the pot in the glaze slurry. It is required to immerse the pot body in the glaze slurry as much as possible without touching the glaze slurry with your hand, and the bottom of the pot should be completely immersed in the glaze slurry.
Shake: Shake the bottom, according to the consistency of the glaze slurry and the personal technique, shake the bottom 1-5 times.
Clamp: After shaking the bottom, put on the enameling clamp, pay attention to the direction of the upper enameling clamp and the two pot handles in a cross, which is convenient for operation.
Fill: After clamping the pot body, immerse the un-enameled part of the pot body into the slurry again to replenish the slurry.
Turn: After replenishing the slurry, hold the clamp handle and rotate it 2-3 times along the axis of the clamp handle to make the slurry of the first immersion part and the second slurry replenishment part contact evenly, and observe that there is no sense of boundary. Before rotating, if the bottom is thick and heavy, and the first shake of the bottom was not thorough, you can hold the pliers handle and shake the bottom again.
Rotate: Hold the pliers handle, move your wrist, and rotate the conical surface with the palm of your hand as the vertex of the pot body. Rotate 3-5 times to make the glaze slurry of the pot body uniform.
Return: Due to the previous steps, the pot body has been facing downward, which inevitably causes the glaze slurry to be thick at the edge. At this time, rotate the pot body so that the pot body is about 45° upward, and rotate 2-3 times to promote the edge to flow back to the pot body to avoid the edge being too thick.
Shake: Due to the effect of centripetal force, when doing the rotation step, it is inevitable that the ear part is too thick. At this time, hold the pliers handle and shake it 2-3 times along the axis of the ear to avoid local clumping and make the glaze slurry thickness of the ear part uniform.
Place: Place the enameled pot carefully on the drying rack to avoid the pliers touching the pot body.
Observation: After placing the pot, observe whether the glaze slurry continues to flow downward (undercurrent). If there is undercurrent, the glaze slurry specific gravity or retention performance needs to be adjusted. At the same time, the uniformity should also be observed.