Detailed Explanation of the Production Process of Daily Use Enamel Bowls
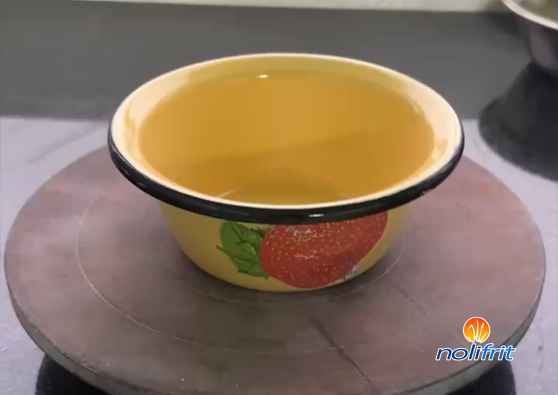
Enamel bowls (food contact enamel) have become a popular item in recent years, combining practicality and aesthetics as dining utensils. This is particularly true for uniquely designed and brightly colored styles, such as the trendy strawberry cake enamel bowl. The manufacturing process of these daily use enamel items merges traditional techniques with modern technology. Let's take a closer look.
The first step in the production of enamel bowls is the pre-treatment of the metal. This process primarily involves sandblasting and similar procedures, aimed at cleaning the metal surface, removing oil and impurities, and increasing surface roughness. This preparation is crucial for ensuring better adhesion of the enamel glaze in subsequent steps and is an important stage in preventing defects in the enamel.
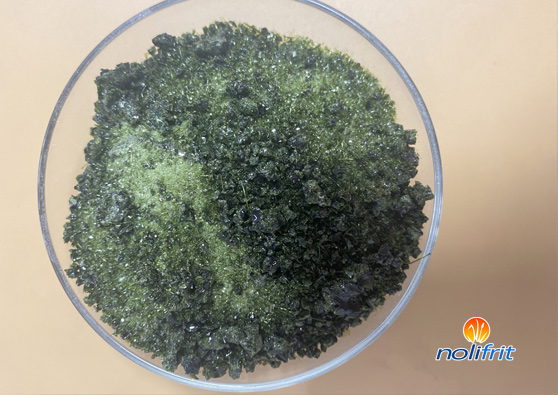
Next comes the preparation of the enamel frit. Based on a specific formula, the enamel ground coat frit, cover coat frit (cream-colored), and edge frit (blue) are prepared. These enamel frits are mixed with grinding materials and water and then placed into a ball mill for milling. The resulting enamel slurry must be filtered through a 60 mesh sieve.
The glazing process involves uniformly applying the enamel slurry onto the metal bowl. First, the enamel ground coat frit is evenly coated using a wet application method, then dried and placed in a kiln for the first firing at a temperature of around 820°C. This process ensures a strong bond between the enamel ground coat frit and the metal bowl, forming a sturdy foundation.
Next, the cover coat frit is applied, dried, and subjected to a second firing. The cover coat frit provides the enamel bowl with its final color and luster, while the second firing ensures a tight bond between the cover coat frits and ground coat frits.
It's particularly important to address the edges after drying the cover coat frit. By gently wiping off any excess frit from the edges and applying a thin, even edge frit, the aesthetic appeal of the edges is enhanced. This step also effectively prevents cracking of the enamel layer due to edge stress, increasing the bowl's durability.
Finally, the decal application step involves soaking the designed paper in water to remove the backing, then carefully placing it onto the enamel bowl. Using gauze and a rubber scraper, the decal is smoothed to ensure a tight fit against the bowl. After natural drying, a firing process is conducted to permanently fix the design onto the enamel bowl.
Through this series of intricate and detailed processes, a vintage and elegant trendy strawberry cake enamel bowl is completed, blending practicality with beauty. Enamel manufacturers in need are welcome to save this article.